Why You’ll Love This Recipe
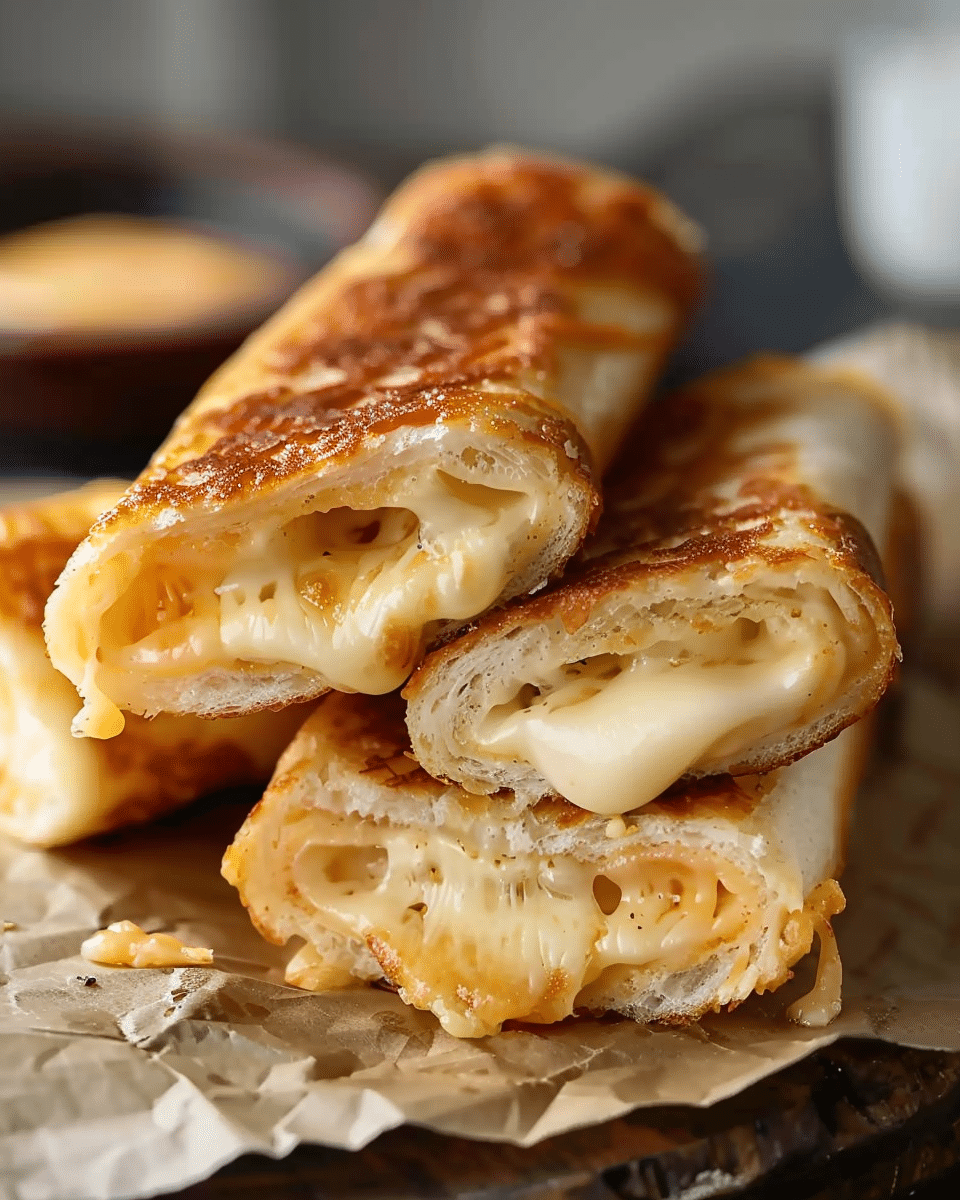
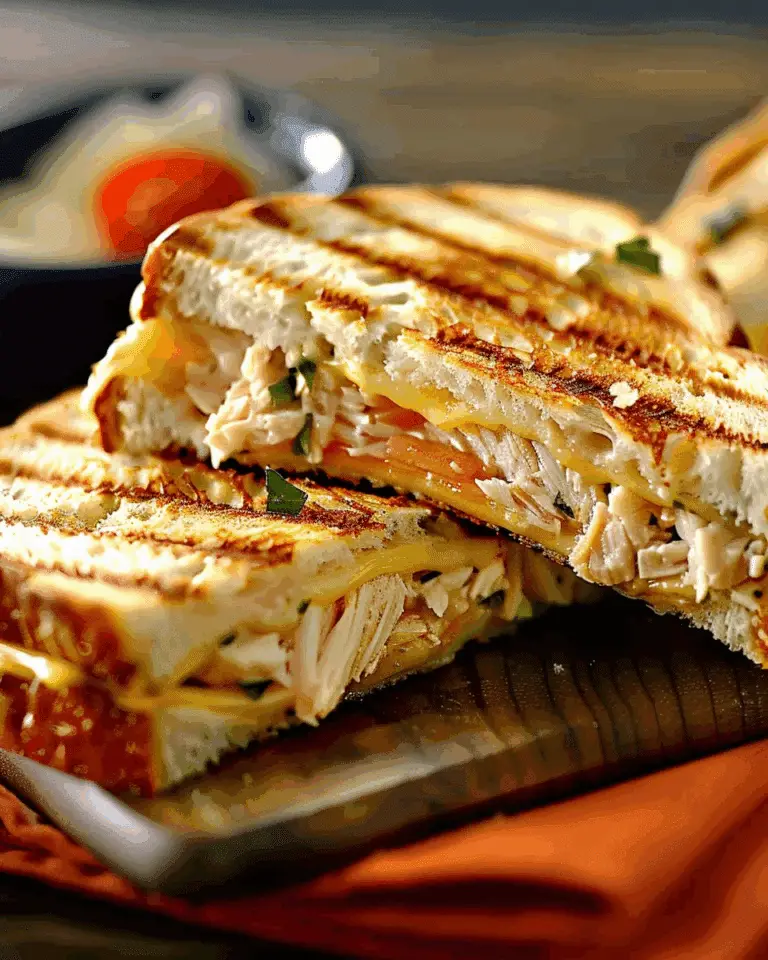
These Grilled Cheese Roll Ups are fun, portable, and customizable. Whether you’re making them for lunch, an after-school snack, or a fun appetizer, they’re sure to be a hit with everyone. The best part? You can add your favorite fillings like savory meats, vegetables, or even spread for extra flavor! With a crispy golden-brown exterior and gooey melted cheese inside, they bring a playful twist to a classic favorite.
Ingredients
-
To make 8 roll-ups, you’ll need:
-
8 slices white sandwich bread (or your favorite soft bread)
-
8 slices American cheese (or cheddar, mozzarella, etc.)
-
2 tablespoons butter, softened
-
-
Optional Add-ins:
-
Thinly sliced deli meat (or preferred protein)
-
Sautéed vegetables (like mushrooms or spinach)
-
Tomato slices
-
Light cream cheese spread
-
(Tip: You’ll find the full list of ingredients and measurements in the recipe card below.)
Directions
1. Prep the Bread
-
Use a rolling pin to flatten each slice of bread. This helps the roll-ups hold their shape. You can also trim the crusts off if desired for easier rolling.
2. Add the Cheese
-
Place one slice of cheese on each flattened slice of bread. You can tear or fold the cheese to fit, or use shredded cheese if preferred.
3. Roll and Seal
-
Roll each slice of bread tightly into a log. Gently press the seam side to help it stay closed, making sure the cheese is sealed inside.
4. Butter the Outside
-
Brush or spread butter over the outside of each roll-up. This ensures a crispy and golden-brown finish once cooked.
5. Cook Until Golden
-
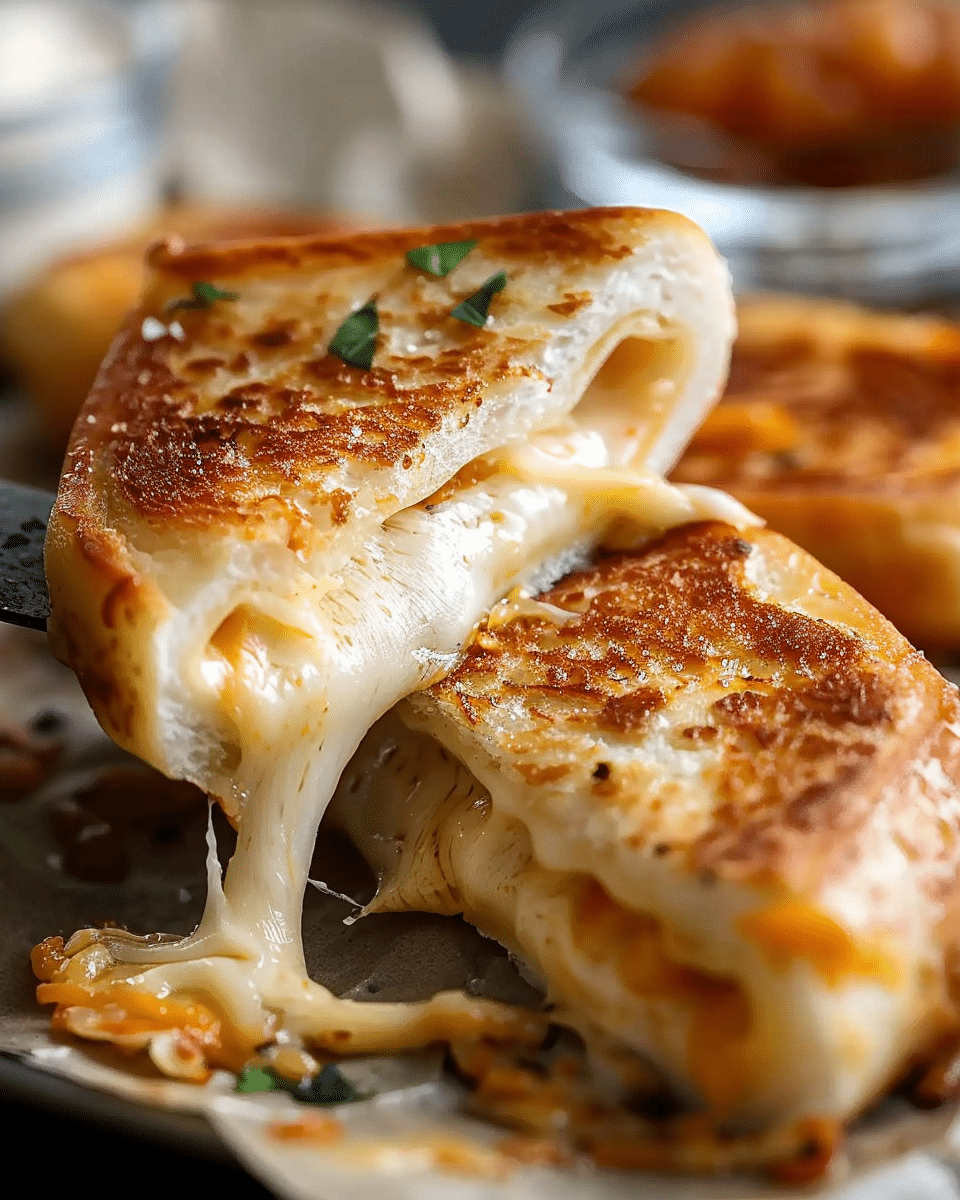
Heat a skillet over medium heat. Place the roll-ups seam side down and cook for 1-2 minutes per side until all sides are golden brown and the cheese has melted. Use tongs to rotate and toast evenly.
6. Serve
-
Let the roll-ups cool slightly, then serve plain or with a side of tomato soup, ketchup, or any dipping sauce of your choice.
Servings and Timing
-
Prep Time: 8 minutes
-
Cook Time: 13 minutes
-
Total Time: 21 minutes
-
Yield: 8 roll-ups
Variations
-
Veggie Roll Ups: Add sautéed vegetables like spinach, mushrooms, or bell peppers for a flavorful twist.
-
Spicy Version: Add a bit of hot sauce or jalapeños for a spicy kick.
-
Different Cheeses: Experiment with other cheeses like provolone, gouda, or Parmesan for a different flavor profile.
Storage/Reheating
-
Storage: These roll-ups are best enjoyed fresh, but you can store any leftovers in an airtight container for up to 2 days.
-
Reheating: To reheat, place the roll-ups on a skillet over low heat and cook for 1-2 minutes per side until warmed through and crispy again.
FAQs
1. Can I use a different type of bread?
Yes, feel free to use any bread you like! Sourdough, whole wheat, or even gluten-free bread would work well.
2. Can I make these ahead of time?
While they’re best enjoyed fresh, you can make them ahead of time, store them in the fridge, and reheat them in a skillet for a quick snack.
3. Can I use a different type of cheese?
Absolutely! Cheddar, mozzarella, Swiss, or any other cheese of your choice will work in these roll-ups.
4. Can I add other ingredients to the filling?
Yes, you can customize the filling with your favorite ingredients like cooked veggies, avocado, or spreadable cheese.
5. Are these roll-ups kid-friendly?
Yes, they’re easy to eat with hands and fun for kids to dip into ketchup or their favorite sauce.
Conclusion
These Grilled Cheese Roll Ups are a fun, easy, and customizable twist on the classic grilled cheese sandwich. Whether you’re serving them for a quick lunch, an after-school snack, or a crowd-pleasing appetizer, they’re sure to be a hit. With the crispy, golden exterior and melty cheese interior, these roll-ups are everything you love about grilled cheese, in a fun and portable form!

Grilled Cheese Roll Ups: Fun & Classic
5 Stars 4 Stars 3 Stars 2 Stars 1 Star
No reviews
- Author: Emma
- Total Time: 21 minutes
- Yield: 8 roll-ups
- Diet: Vegetarian
Description
Grilled Cheese Roll Ups are a fun and portable twist on the classic grilled cheese sandwich, with a crispy exterior and gooey melted cheese inside. Customizable with various fillings, they’re perfect for kids and adults alike as a snack or lunch.
Ingredients
8 slices white sandwich bread (or your favorite soft bread)
8 slices American cheese (or cheddar, mozzarella, etc.)
2 tablespoons butter, softened
Optional Add-ins:
Thinly sliced deli meat (or preferred protein)
Sautéed vegetables (like mushrooms or spinach)
Tomato slices
Light cream cheese spread
Instructions
- Prep the Bread: Use a rolling pin to flatten each slice of bread. This helps the roll-ups hold their shape. You can also trim the crusts off if desired for easier rolling.
- Add the Cheese: Place one slice of cheese on each flattened slice of bread. You can tear or fold the cheese to fit, or use shredded cheese if preferred.
- Roll and Seal: Roll each slice of bread tightly into a log. Gently press the seam side to help it stay closed, making sure the cheese is sealed inside.
- Butter the Outside: Brush or spread butter over the outside of each roll-up. This ensures a crispy and golden-brown finish once cooked.
- Cook Until Golden: Heat a skillet over medium heat. Place the roll-ups seam side down and cook for 1-2 minutes per side until all sides are golden brown and the cheese has melted. Use tongs to rotate and toast evenly.
- Serve: Let the roll-ups cool slightly, then serve plain or with a side of tomato soup, ketchup, or any dipping sauce of your choice.
Notes
You can use any type of bread you like, such as sourdough, whole wheat, or gluten-free bread.
For a spicier version, try adding jalapeños or hot sauce to the filling.
Experiment with different cheeses like gouda, provolone, or Swiss for added variety.
- Prep Time: 8 minutes
- Cook Time: 13 minutes
- Category: Snack, Lunch
- Method: Skillet
- Cuisine: American
Nutrition
- Serving Size: 1 roll-up
- Calories: 200
- Sugar: 2g
- Sodium: 300mg
- Fat: 12g
- Saturated Fat: 7g
- Unsaturated Fat: 4g
- Trans Fat: 0g
- Carbohydrates: 18g
- Fiber: 1g
- Protein: 8g
- Cholesterol: 30mg

