Why You’ll Love This Recipe
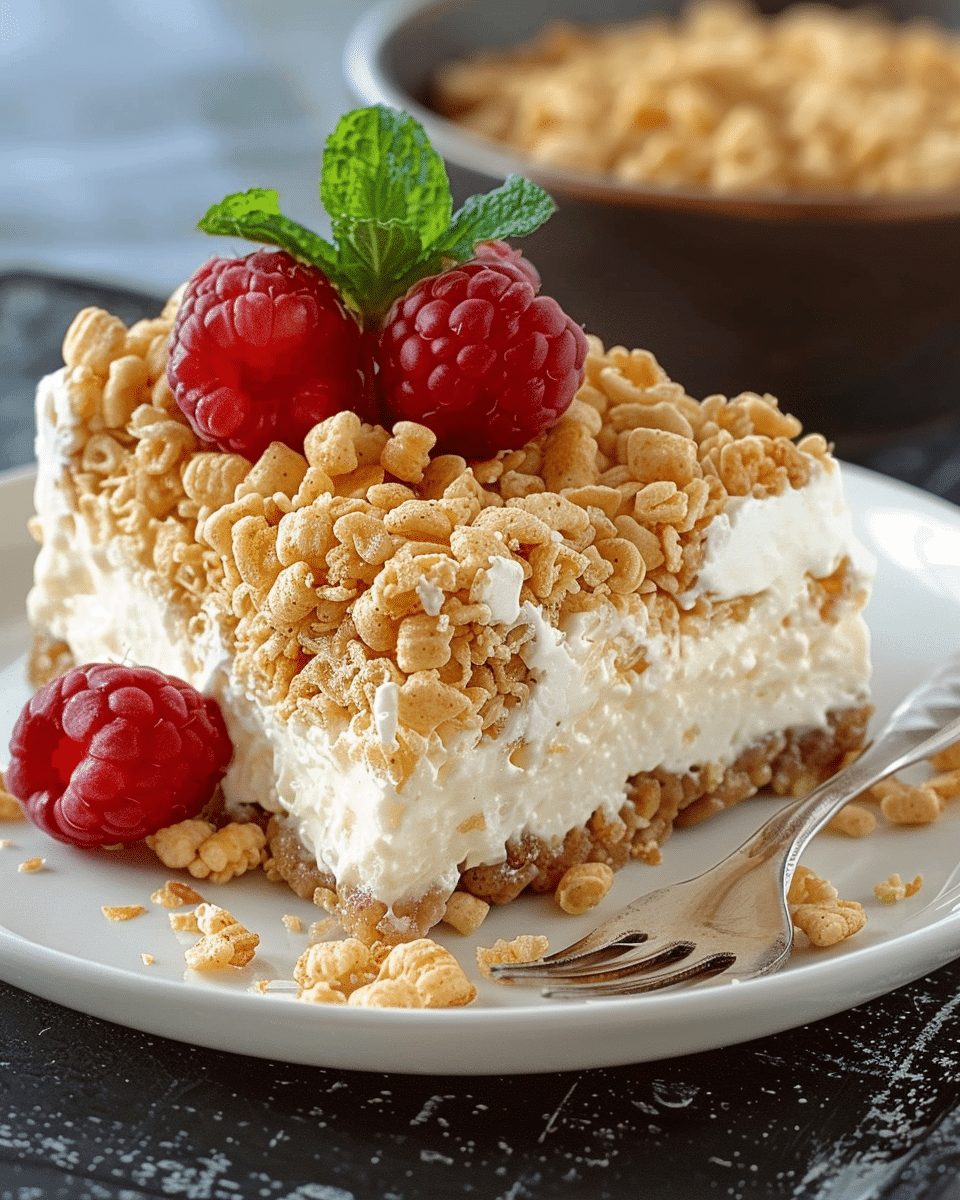
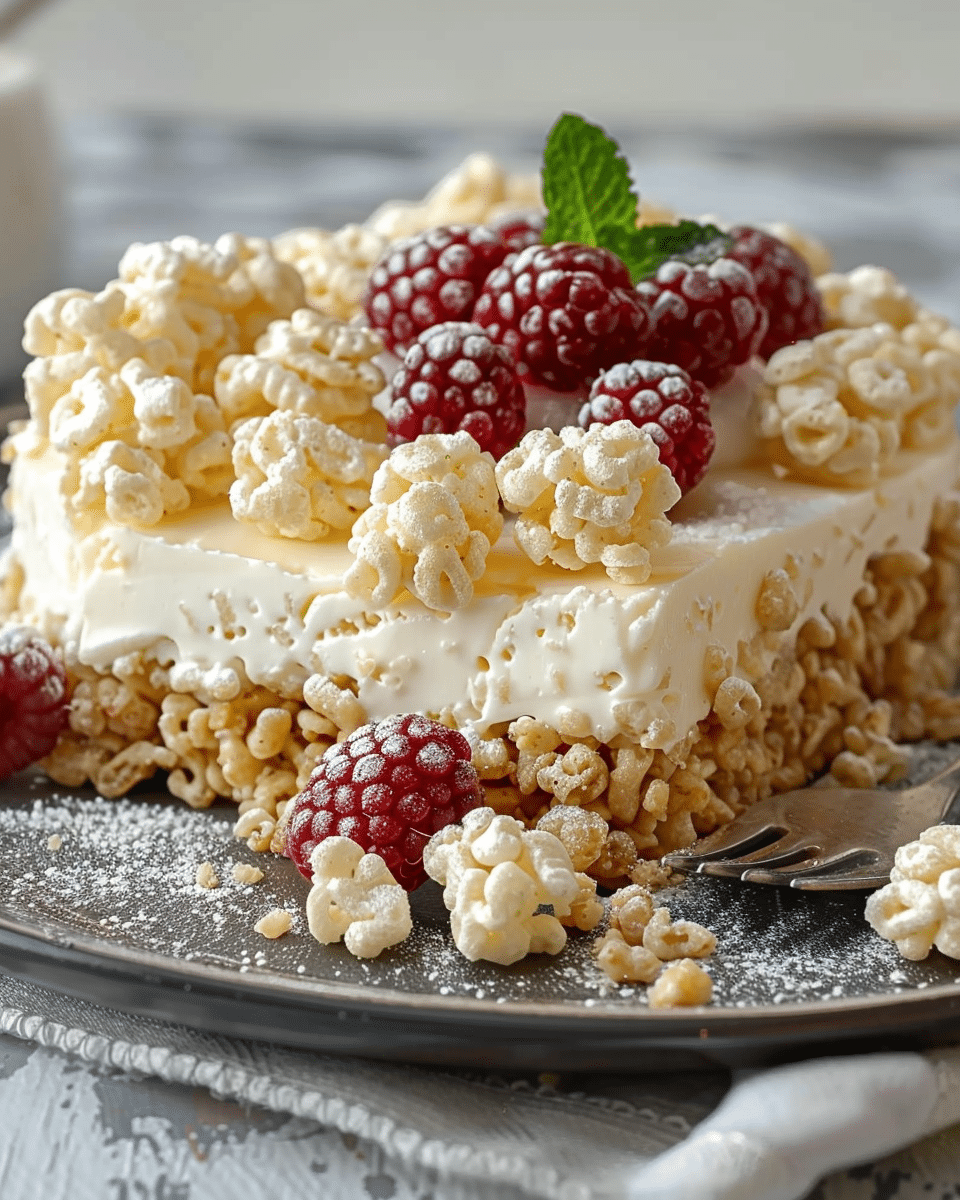
This dessert offers the perfect balance of textures— the crispy and buttery Rice Krispies crust is the ideal base for the rich, smooth cheesecake filling. The white chocolate adds a subtle sweetness, while the whipped cream makes the cheesecake incredibly light and fluffy. Plus, it’s easy to make and doesn’t require any baking, so it’s a great option when you need a quick, crowd-pleasing dessert. Whether for a family gathering or a party, this cheesecake will surely impress!
Ingredients
For the Crust:
- 2 cups Rice Krispies cereal
- 1 cup mini marshmallows
- 1/4 cup unsalted butter
For the Cheesecake Filling:
- 1 1/2 cups cream cheese, softened
- 1/2 cup granulated sugar
- 1 tsp vanilla extract
- 1 cup whipped cream (or whipped topping / Cool Whip)
- 1/2 cup white chocolate chips, melted
(Tip: You’ll find the full list of ingredients and measurements in the recipe card below.)
Directions
- Prepare the Crust: In a pot over medium heat, melt the butter. Once melted, stir in the mini marshmallows and continue to stir until they are completely melted and smooth. Remove from heat and fold in the Rice Krispies, ensuring they are evenly coated with the marshmallow mixture.
- Form the Crust: Press the Rice Krispies mixture firmly into the bottom of a greased 9-inch springform pan or square pan to form a solid crust. Use the back of a spoon to press it down evenly.
- Make the Cheesecake Filling: In a separate bowl, beat the softened cream cheese, sugar, and vanilla extract until smooth. Then, gently fold in the whipped cream and melted white chocolate until well combined, creating a light and creamy filling.
- Assemble the Cheesecake: Spread the cheesecake filling evenly over the prepared Rice Krispies crust.
- Chill: Refrigerate the cheesecake for at least 4 hours (or up to overnight) to allow it to set.
- Serve: Once chilled and set, remove from the pan and serve! Top with optional fresh berries, chocolate drizzle, or sprinkles if desired.
Servings and Timing
- Servings: 8 servings
- Prep Time: 20 minutes
- Cook Time: 0 minutes (no bake)
- Total Time: 4 hours 20 minutes (including chill time)
Variations
- Fruit Toppings: Add fresh berries like strawberries, blueberries, or raspberries for a pop of color and a fruity touch.
- Chocolate Drizzle: For a richer dessert, drizzle some melted chocolate over the top for added flavor and a beautiful presentation.
- Nutty Crust: If you prefer, you can add crushed nuts (like walnuts or almonds) to the Rice Krispies crust for a bit of extra texture and flavor.
Storage/Reheating
Store the cheesecake in an airtight container in the refrigerator for up to 3–4 days. This dessert is best enjoyed chilled and fresh. It doesn’t need reheating and holds up well in the fridge.
FAQs
Can I make this cheesecake ahead of time?
Yes! This cheesecake needs to chill for several hours, so it’s perfect for making the day before an event. Just let it set overnight in the refrigerator for the best results.
Can I use a different type of cereal for the crust?
Yes, you can substitute Rice Krispies with another cereal like Cornflakes or Honey Bunches of Oats, but Rice Krispies are ideal for this no-bake cheesecake as they give the perfect texture.
Can I use regular whipped cream instead of whipped topping?
Yes, fresh whipped cream works perfectly in this recipe. Just make sure it’s whipped to stiff peaks before folding it into the cheesecake filling.
How do I get the cheesecake to set properly?
Chill the cheesecake for at least 4 hours or overnight. The longer it chills, the firmer and better the texture will be.
Can I add a layer of fruit to the cheesecake filling?
Absolutely! You can add a layer of fruit like sliced strawberries or a berry compote into the filling for added flavor and decoration.
Can I freeze the Rice Krispy Treat Cheesecake?
Yes, you can freeze the cheesecake. Wrap it tightly and store it in the freezer for up to 2 months. Let it thaw in the fridge before serving.
How can I make this cheesecake gluten-free?
This recipe is already gluten-free, as Rice Krispies cereal is typically gluten-free. Just ensure your whipped cream and other ingredients don’t contain any gluten.
Can I use milk chocolate instead of white chocolate?
Yes, you can substitute milk chocolate for the white chocolate if you prefer a richer, less sweet flavor.
Can I make a bigger batch of this cheesecake?
Yes, simply double the ingredients and use a larger pan. Adjust the chilling time slightly to ensure it sets properly.
Can I make this cheesecake dairy-free?
You can substitute dairy-free alternatives for the cream cheese, whipped cream, and butter to make this recipe dairy-free. Look for plant-based options available at most grocery stores.
Conclusion
This Rice Krispy Treat No-Bake Cheesecake is a perfect blend of textures and flavors, with a crispy, marshmallow-infused crust and a creamy, dreamy cheesecake filling. It’s simple to make, no baking required, and it’s a crowd-pleaser for all ages. Whether you’re serving it for a special occasion or just a sweet treat at home, this dessert will quickly become a favorite!
Rice Krispy Treat No-Bake Cheesecake: Easy, Creamy, and Irresistible
- Total Time: 2 hours 10 minutes
- Yield: 8 servings
- Diet: Vegetarian
Description
Rice Krispy Treat No-Bake Cheesecake is a fun, easy, and indulgent twist on traditional cheesecake. With a crispy, gooey Rice Krispy treat crust and a creamy cheesecake filling, this dessert is perfect for anyone craving a quick, no-bake treat that’s both crunchy and creamy.
Ingredients
6 cups Rice Krispies cereal
4 cups mini marshmallows
3 tbsp butter
1 ½ cups cream cheese, softened
1 cup heavy cream
½ cup powdered sugar
1 tsp vanilla extract
Fresh fruit or fruit compote for topping (optional)
Instructions
- In a large saucepan, melt the butter over low heat. Add the mini marshmallows and stir until completely melted and smooth.
- Remove from heat and add the Rice Krispies cereal. Stir until the cereal is evenly coated with the marshmallow mixture.
- Transfer the Rice Krispies mixture into a greased 9-inch pie dish or springform pan. Press the mixture down firmly to form an even crust. Set aside to cool and harden.
- In a mixing bowl, beat the cream cheese until smooth. Add the heavy cream, powdered sugar, and vanilla extract. Beat until the mixture is fluffy and holds stiff peaks.
- Spread the cheesecake filling over the cooled Rice Krispies crust, smoothing it into an even layer.
- Chill the cheesecake in the refrigerator for at least 2 hours to set.
- Before serving, top the cheesecake with fresh fruit or fruit compote, if desired.
Notes
For a flavored twist, add lemon zest to the cheesecake filling or a swirl of fruit preserves.
If you prefer a firmer crust, use slightly less marshmallow or press the mixture down more firmly.
This dessert is versatile—try topping it with chocolate ganache or caramel sauce for added sweetness!
- Prep Time: 10 minutes
- Cook Time: 0 minutes
- Category: Dessert
- Method: No-Bake
- Cuisine: American
Nutrition
- Serving Size: 1 slice
- Calories: 280
- Sugar: 28g
- Sodium: 120mg
- Fat: 12g
- Saturated Fat: 7g
- Unsaturated Fat: 4g
- Trans Fat: 0g
- Carbohydrates: 38g
- Fiber: 1g
- Protein: 3g
- Cholesterol: 35mg
