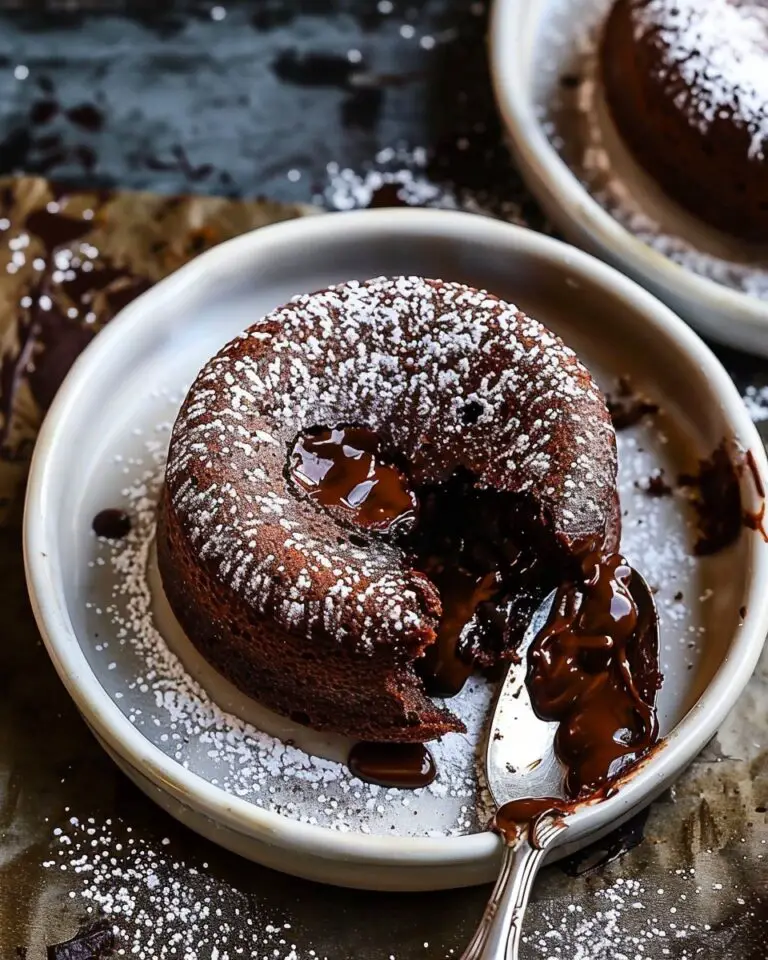

There is something truly magical about a homemade classic, and this Homemade Yellow Cake with Chocolate Buttercream Frosting Recipe is the ultimate example of that. Picture a soft, buttery, incredibly moist yellow cake layered with a luscious, ultra-fluffy chocolate buttercream frosting that just melts in your mouth. It’s the kind of cake that feels like every celebration should have it as the star, and once you taste it, you’ll understand why it disappears so quickly at any gathering. This recipe balances rich flavors and a tender crumb, delivering that nostalgic bakery-quality in your own kitchen with simple ingredients and a few thoughtful steps.
Ingredients You’ll Need

Getting the best results all comes down to a handful of basic but essential ingredients, each playing a crucial role in giving this cake its perfect taste, texture, and stunning color. Here’s what you’ll need to gather before starting your baking adventure.
- Cake flour (2½ cups/280g): The secret to a tender, soft crumb that feels like a bakery cake.
- Baking powder (2 teaspoons): Adds lift and ensures your cake rises beautifully.
- Baking soda (½ teaspoon): Works with the sour cream to balance acidity and create moisture.
- Salt (1 teaspoon): Enhances all the flavors and balances the sweetness.
- Unsalted butter (16 tablespoons for cake, 1½ cups for frosting): Adds richness and contributes to a creamy texture.
- Granulated sugar (1½ cups): Sweetens and contributes to the cake’s tenderness.
- Full-fat sour cream (¾ cup): Keeps the cake moist and tender while adding a subtle tang.
- Vegetable oil (2 tablespoons): Boosts the cake’s moistness and softness.
- Vanilla extract (1 tablespoon + 1 tablespoon for frosting): Elevates flavors with its warm, sweet aroma.
- Eggs (2 large + 2 large yolks): Provide structure and richness for the perfect crumb.
- Milk (1 cup, 2% or whole): Adds moisture and helps create a silky batter.
- Powdered sugar (24 oz./680g): For the chocolate buttercream, delivering that smooth, sweet finish.
- Unsweetened cocoa powder (¾ cup): Gives the frosting its deep chocolate flavor and that eye-catching color.
- Salt (¼ teaspoon + a pinch for frosting): Balances sweetness in the frosting.
- Heavy cream (7-8 tablespoons): Makes the frosting ultra-creamy and fluffy.
How to Make Homemade Yellow Cake with Chocolate Buttercream Frosting Recipe
Step 1: Prepare Your Pans and Dry Ingredients
Preheat your oven to 350°F to get everything ready for baking. Line your cake pans with parchment paper or silicone baking mats and give them a light spray of nonstick spray. This ensures the cake layers will come out cleanly without any hassle. Next, whisk together the cake flour, baking powder, baking soda, and salt in a large bowl. This combined dry base is what will create that perfect rise and crumb texture.
Step 2: Cream Butter and Sugar
Using a stand mixer or handheld mixer, beat the room-temperature butter and granulated sugar on medium-high speed for at least 3-5 minutes. Don’t rush this step — it’s key to getting a fluffy, light texture in the cake. You’ll want to see the mixture become creamy and pale in color. This aeration is what gives the cake its softness and slight rise.
Step 3: Incorporate Wet Ingredients
Scrape down the bowl to make sure everything is evenly mixed. Add the sour cream, vegetable oil, and vanilla extract to the butter-sugar mixture and beat on medium-high speed until combined. Then, add the eggs and extra yolks one at a time, mixing well after each addition. This careful step prevents any eggy taste and ensures the batter stays silky smooth.
Step 4: Alternate Adding Dry Ingredients and Milk
Set your mixer to low and add the flour mixture in three parts, alternating with the milk (starting and ending with the dry ingredients). Stop mixing as soon as you see a few streaks of flour left and finish folding the batter gently by hand. Remember, some small lumps are perfectly fine — overmixing can toughen the cake.
Step 5: Bake the Cake Layers
Divide the batter evenly among your prepared pans. Using a kitchen scale can help with accuracy so each layer bakes evenly. Pop them in the oven and bake for 18-24 minutes if using 8-inch pans or 25-31 minutes for 9-inch. You’ll know they’re done when a toothpick inserted in the center comes out with just a few moist crumbs attached.
Step 6: Cool and Prepare Frosting
Allow the cakes to cool in their pans for about 10 minutes before turning them out onto wire racks to cool completely. While you wait, get started on the frosting by sifting powdered sugar, cocoa powder, and salt together to eliminate any lumps. Then beat the butter until smooth and fluffy, gradually mixing in the sugar mixture, cream, and vanilla. Whip it for a full two minutes to get that light, fluffy texture that makes the frosting so irresistible.
Step 7: Assemble and Frost Your Cake
Once your cake layers have cooled completely, level them with a serrated knife to create flat, even surfaces — this step makes your cake look professionally done. Begin by placing the first layer upside up on your serving plate, frost generously with a cup of chocolate buttercream, and continue layering until the cake is stacked. Spread the last frosting layer smoothly over the top and sides, and feel free to decorate with piping or sprinkles. Chill for about 30 minutes before slicing to achieve clean cuts, then let it come to room temperature before serving.
How to Serve Homemade Yellow Cake with Chocolate Buttercream Frosting Recipe

Garnishes
Adding simple garnishes can instantly take your cake from delightful to stunning. Consider a dusting of cocoa powder, chocolate curls, or even fresh berries for a pop of color and flavor contrast. Toasted nuts like chopped pecans or walnuts also add a pleasing texture variation that complements the softness of this homemade cake.
Side Dishes
This cake pairs wonderfully with light accompaniments such as a scoop of vanilla bean ice cream or a dollop of whipped cream. Fresh fruit or a refreshing berry compote can also balance the richness of the chocolate buttercream, giving your guests a flavor experience that dances on the palate.
Creative Ways to Present
Presentation is where you let your personality shine. Try stacking the cake on a rustic wooden board for a farmhouse vibe or on a sleek cake stand for elegant affairs. You could even turn this into a layered trifle by cutting the cake into cubes and layering it with chocolate pudding and whipped cream in a clear glass bowl. No matter how you serve it, this recipe is a guaranteed showstopper.
Make Ahead and Storage
Storing Leftovers
If you have any leftovers, store the cake in an airtight container or wrap it tightly in plastic wrap. It will keep fresh at room temperature for 2-3 days or in the refrigerator for up to a week. Just be sure to bring it back to room temperature before serving to enjoy the full buttery softness and that melt-in-your-mouth frosting.
Freezing
This Homemade Yellow Cake with Chocolate Buttercream Frosting Recipe freezes beautifully. Wrap the frosted cake tightly in plastic wrap and then in foil or place it in a freezer-safe container. It can be frozen for up to 3 months. Thaw overnight in the refrigerator and bring it to room temperature before serving for the best taste and texture.
Reheating
While you generally won’t warm a frosted cake, if you freeze unfrosted layers, you can gently warm them in a low oven (around 300°F) for 10-15 minutes to revive that freshly baked feeling before frosting. For serving, just leaving the cake out at room temperature for 30 minutes after refrigeration works wonders to soften the buttercream and bring out its full flavor.
FAQs
Can I use all-purpose flour instead of cake flour?
While you technically can, cake flour is preferred because it has less protein, resulting in a softer, lighter crumb. If you only have all-purpose flour, try replacing 2 tablespoons of it with cornstarch per cup to mimic cake flour better.
Why do I need both eggs and extra egg yolks?
The extra egg yolks add richness and moisture, helping create that tender, buttery texture. They also deepen the cake’s yellow hue, giving it a classic sunny color.
Can I make this cake dairy-free?
With some ingredient swaps like using dairy-free butter, milk alternatives, and dairy-free sour cream, you can adapt the recipe. However, the texture and flavor will be slightly different but still delicious.
How long can I keep this cake frosted?
Once frosted, keep it refrigerated if not serving immediately. It’s best enjoyed within 3-4 days for optimal freshness and flavor.
What’s the best way to level cake layers?
Use a long serrated knife or a cake leveler and gently slice off the domed top to create a flat surface. This helps the layers stack evenly and the frosting to spread smoothly.
Final Thoughts
This Homemade Yellow Cake with Chocolate Buttercream Frosting Recipe is a joyful celebration of simple, classic flavors done perfectly at home. Whether it’s a birthday, special occasion, or just because you deserve a slice of something truly delicious, this cake will bring smiles and happy sighs around the table. Give it a try, and I promise it will become one of your go-to recipes for creating sweet memories with every bite.
Print
Homemade Yellow Cake with Chocolate Buttercream Frosting Recipe
- Total Time: 2 hours 25 minutes
- Yield: 12 servings
Description
This homemade yellow cake recipe delivers a soft, buttery, and incredibly moist cake with a tender bakery-style crumb. Paired with an ultra-fluffy chocolate buttercream frosting, it makes a perfect celebratory birthday cake that melts in your mouth and has everyone asking for more. The detailed instructions and tips ensure success for both novice and experienced bakers.
Ingredients
Cake Ingredients
- 2½ cups (280g) cake flour (measured correctly)
- 2 teaspoons baking powder
- ½ teaspoon baking soda
- 1 teaspoon salt
- 16 tablespoons unsalted butter, room temperature
- 1½ cups granulated sugar
- ¾ cup full fat sour cream, room temperature
- 2 tablespoons vegetable oil
- 1 tablespoon vanilla extract
- 2 large eggs, room temperature
- 2 large egg yolks, room temperature
- 1 cup 2% or whole milk, room temperature
Chocolate Frosting Ingredients
- 1½ cups (3 sticks) unsalted butter, room temperature
- 24 oz. (6 cups / 680g) powdered sugar
- ¾ cup (64g) unsweetened cocoa powder
- ¼ teaspoon salt, plus a pinch
- 7–8 tablespoons heavy cream
- 1 tablespoon vanilla extract
Instructions
- Preheat and Prepare Pans: Preheat the oven to 350°F (175°C). Line three 8-inch round cake pans with parchment paper or silicone baking mats and lightly grease with nonstick spray. Alternatively, use two 9-inch cake pans.
- Mix Dry Ingredients: Whisk together cake flour, baking powder, baking soda, and salt in a large bowl. Set aside.
- Cream Butter and Sugar: Using a stand or handheld mixer, beat the butter and sugar on medium-high for 3-5 minutes until creamy and fluffy, scraping the bowl occasionally.
- Add Wet Ingredients: Scrape down the bowl. Mix in sour cream, vegetable oil, and vanilla extract on medium-high speed until combined, about 30 seconds. Add eggs and egg yolks one at a time, fully blending each before adding the next to avoid an eggy taste.
- Alternate Adding Dry and Milk: On low speed, add the flour mixture in three parts, alternating with milk, beginning and ending with dry ingredients. Stop mixing when some streaks remain and finish folding by hand, leaving small lumps without overmixing.
- Bake the Cake: Divide batter evenly into prepared pans (use a kitchen scale if desired). Bake at 350°F for 18-24 minutes (8-inch pans) or 25-31 minutes (9-inch pans), until a toothpick inserted in the center comes out with a few moist crumbs.
- Cool Cakes: Cool the cakes in pans for 10 minutes, then invert onto wire racks to cool completely before frosting.
- Prepare Frosting Dry Mix: Sift powdered sugar, cocoa powder, and salt into a large mixing bowl and whisk to combine.
- Cream Butter for Frosting: Beat butter with a stand mixer on high for about 60 seconds until smooth and fluffy.
- Combine Frosting Ingredients: On low, gradually add the sugar-cocoa mixture to the butter, then slowly add heavy cream and vanilla, scraping the bowl sides as needed.
- Beat Frosting Fluffy: Increase mixer speed to medium-high and beat for 2 full minutes. Adjust consistency with more powdered sugar if too thin, or more cream if too thick. Add a pinch of salt to balance sweetness if desired.
- Level Cakes: Ensure cakes are completely cooled. Use a serrated knife to level the tops of each cake layer for even stacking.
- Assemble Layers: Place first cake layer cut side up on a serving plate. Spread one cup of frosting evenly. Add second layer cut side up and frost again with one cup of frosting. Place third layer on top cut side down.
- Frost Entire Cake: Spread frosting evenly around the sides and top of the cake, decorating or piping as desired.
- Serve: For cleaner slices, refrigerate assembled cake for 30 minutes, then allow it to come to room temperature before serving. Enjoy!
Notes
- Measure flour correctly by weighing or fluffy spooning and leveling to avoid dense cake.
- Use room temperature ingredients (eggs, butter, sour cream, milk) for smooth blending and tender crumb.
- Butter should feel slightly soft but not melty (about 67°F). Never microwave butter.
- Warm milk and sour cream briefly if needed; place eggs in warm water for 10 minutes to reach room temperature quickly.
- Prep Time: 1 hour
- Cook Time: 25 minutes
- Category: Dessert
- Method: Baking
- Cuisine: American